Luke’s Half Square Triangle Around the World Quilt
carriedawayquilting57146bbe00
Wasn’t it just yesterday that our oldest child, our son Luke, was born on a bitterly cold day in January? Wasn’t it just yesterday that he took his first steps, lost his first tooth, read his first book, scored his first touchdown, drove his first car? And now he is a college graduate with an Economics degree and a promising career. Mothers remember every first, every last, and every moment in between. It’s no wonder we’re so tired! But I’m filled with love and gratitude that this young man is our son, and I’m so excited to see what the future holds for him.
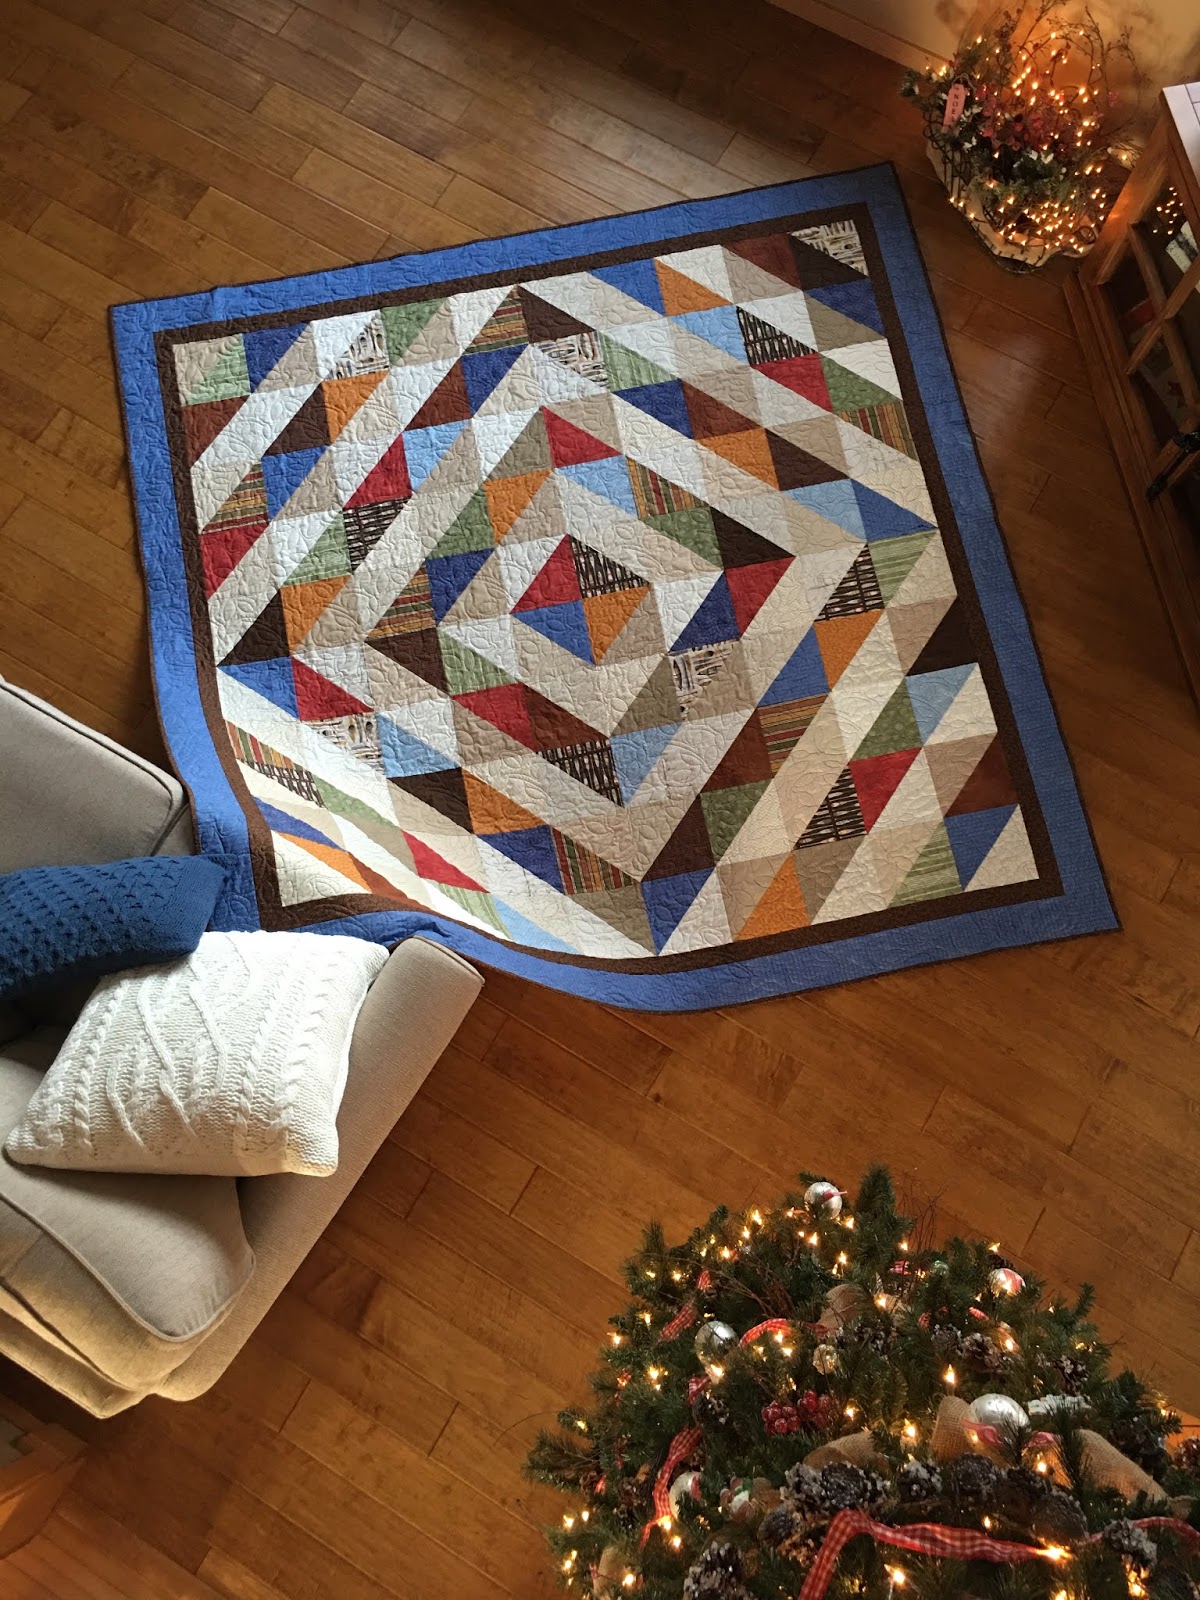
Last spring I asked Luke if he’d like a quilt for his college graduation. He said “absolutely” with two requests: make it big and make it soft. So that’s what I set out to do. I showed him several pattern design options that had a manly feel and also asked for his input on colors. Armed with his feedback, I gathered just the right fabrics and stitched up this quilt: Luke’s Half Square Triangle Around the World Quilt.
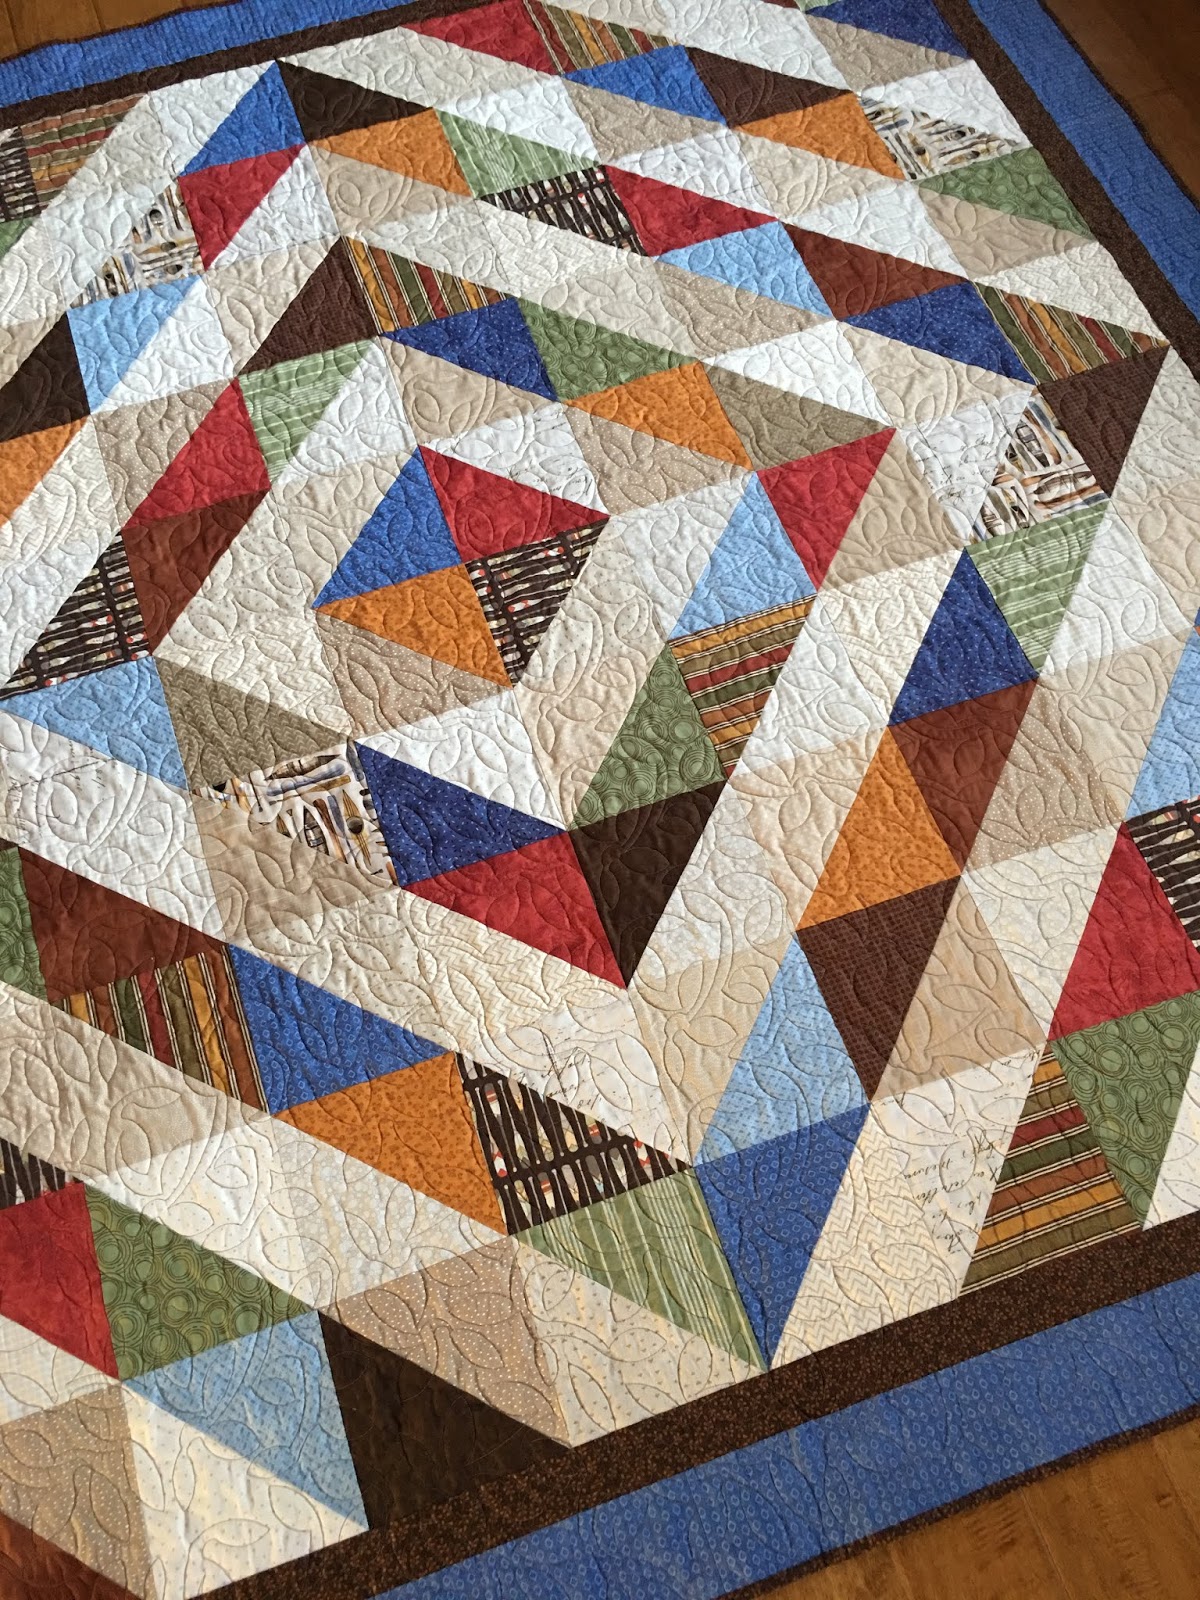
I’ve made a lot of quilts this year, but this is by far my favorite. I absolutely love how the colors and prints came together in conjunction with the bold, graphic nature of the layout. But mostly (sap alert), my heart is full thinking of this quilt being with Luke on his life’s journeys.
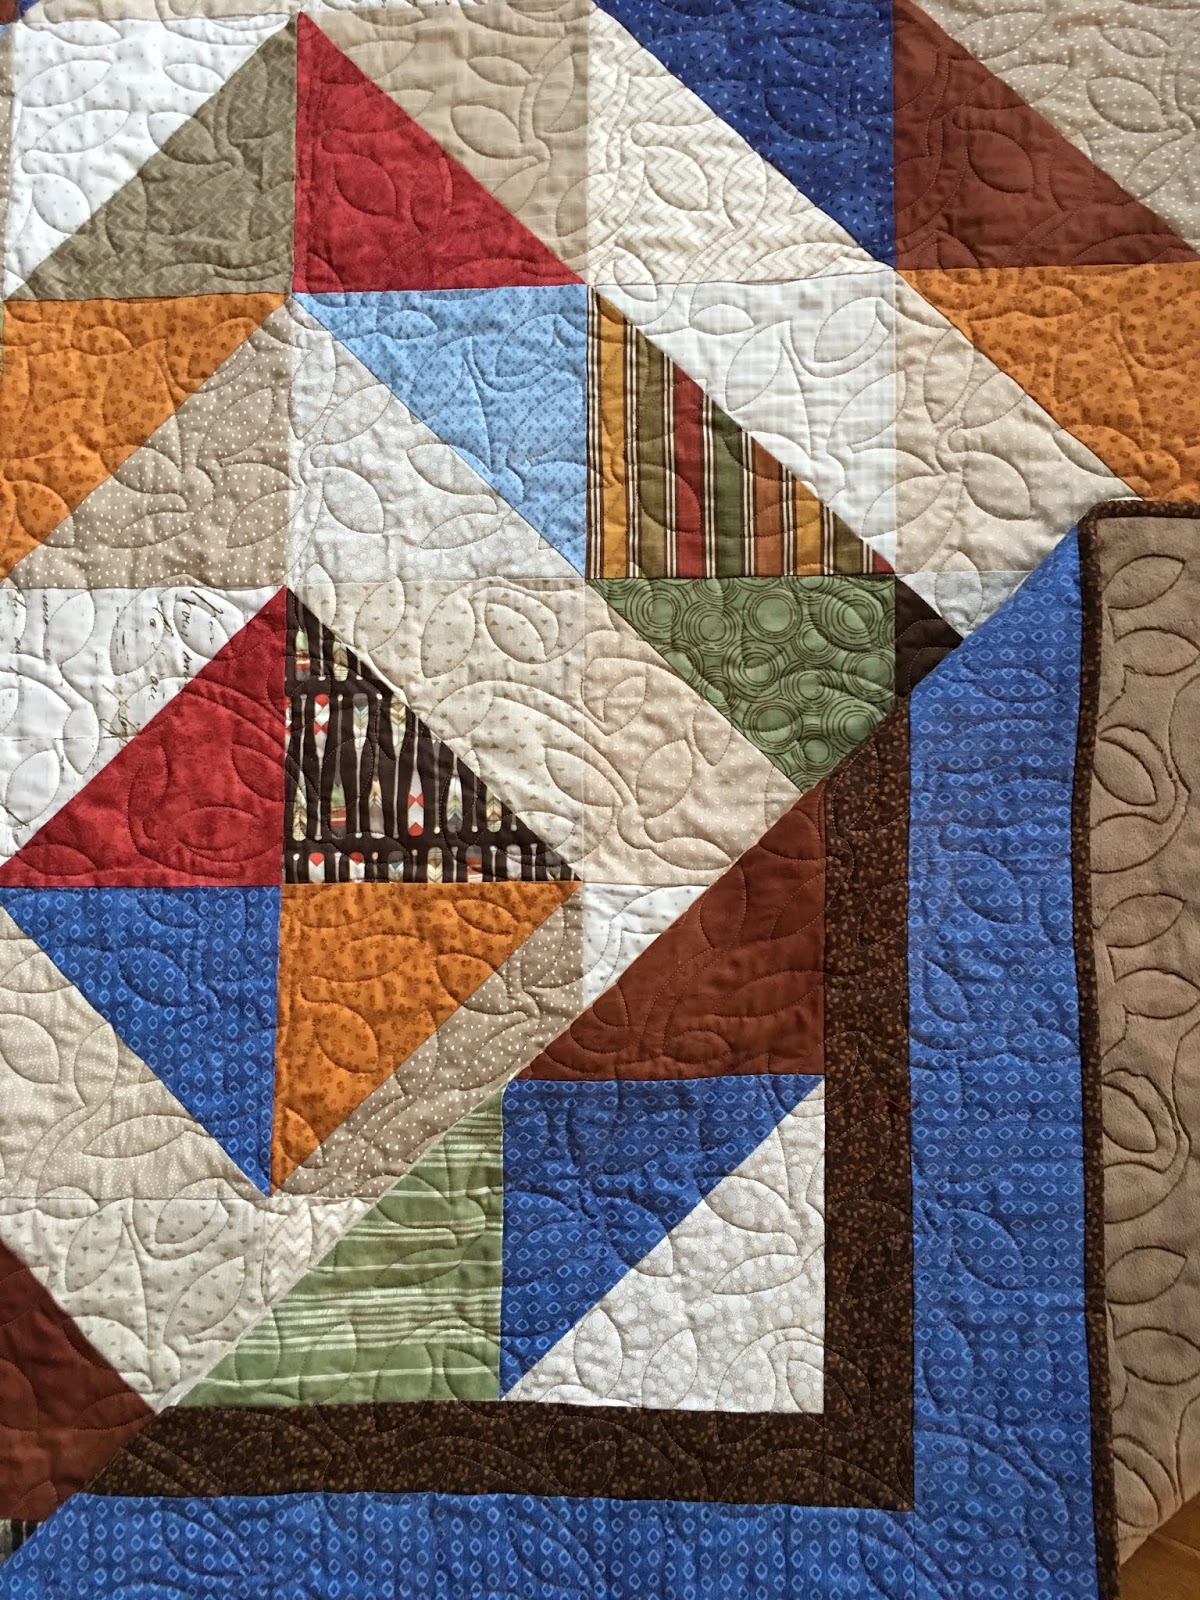
My friend and local quilt shop owner, Barb from Quilts on Broadway in Foley, MN, did the machine quilting on Luke’s quilt. We chose a nature-inspired leaf pattern that is the perfect complement to the fabrics. Barb also stocks a nice inventory of Cuddle® fabric (by Shannon Fabrics) for backings. She had just the right cappuccino color to back Luke’s quilt and make it nice and cozy.
I didn’t use a pattern for this project. If you do an internet search, you will find that there are many free patterns and tutorials available for a simple half-square triangle quilt in an Around the World layout. Most of them call for using a layer cake, which makes perfect sense as you are cutting numerous squares on the diagonal. However, I was on a mission to find the perfect colors and prints for this special quilt, and none of the layer cakes I saw were quite right. So I chose to purchase yardage instead and mocked up my own plan. I will share some basic instructions and tips at the end of this blog post.
We all love sewing. The creative process, the beautiful fabrics, the attention to detail . . . these are things that make our quilty hearts happy. But as I was sewing Luke’s quilt, I was reminded of the deeper fulfillment that comes from making a special gift for someone we love. That’s where we find the real quilting joy.
Thanks so much for stopping by the blog today. I hope the notes I’ve shared can serve as a guideline for you to sew up your own beautiful creation for someone you love!
~Taunja
Basic Instructions: Luke’s HST Around the World Quilt
The center portion of Luke’s quilt is comprised of 100 HST blocks, laid out 10 by 10. This center portion measures 75 1/2” square. I then added a 2 1/2″ inner border and a 4 1/2″ outer border. The finished quilt measures 87 1/2″, nice and big, just as Luke requested!
I took notes as I sewed, and I’ll share them with you now. You could easily customize these guidelines to suit your needs!
Materials:
11 light 1/4 yard cuts (must have 42 1/2” useable length of fabric)
11 dark 1/4 yard cuts (must have 42 1/2” useable length of fabric)
5/8 yard inner border
1 1/4 yards outer border
8 yards backing
3/4 yard binding
Notes:
The “strict math” will calculate that we only need 10 lights and 10 darks to make the 100 HST blocks. But that doesn’t give us any wiggle room for a bad cut or design choices with the lights and darks. I would definitely recommend getting 11 of each. I actually had 13 darks because I found so many I liked. Having a couple extra is always a good thing!
Preparation pressing:
Press all of your 1/4 yard cuts with spray starch. I like Mary Ellen’s Best Press. You will be cutting all of your squares in half on the diagonal. Pre-pressing with a little starch will help prevent any bias stretching on that diagonal cut.
Cutting:
From each 1/4 yard x WOF, cut (5) 8 1/2” squares. (You will need a minimum of 100 squares, 50 light and 50 dark, but cut a few extra so that you have options when laying out your prints.)
Cut each square in half on the diagonal, for a minimum of 200 triangles.
Layout:
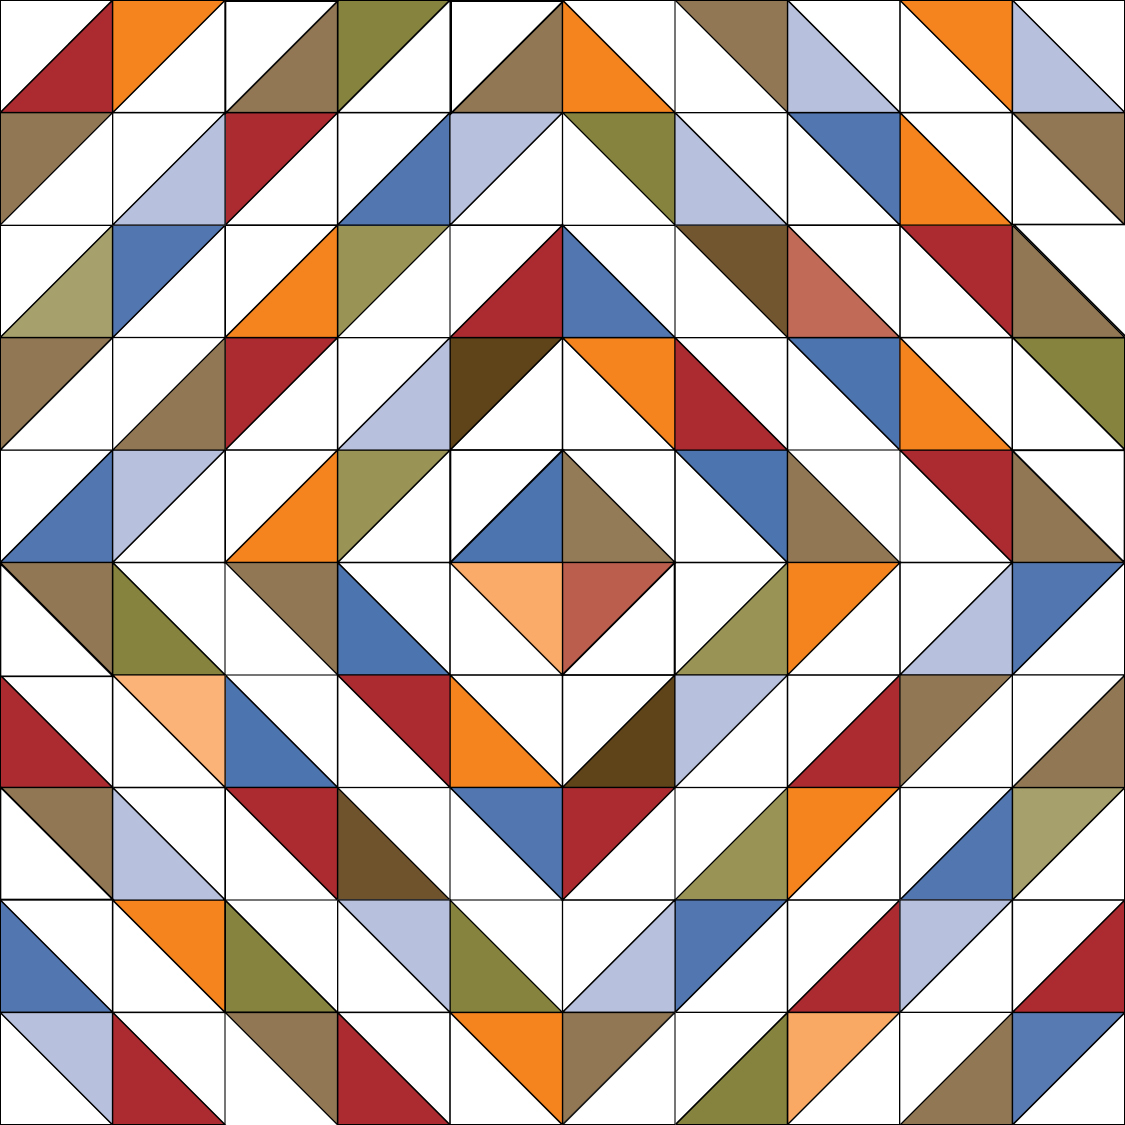
Now the fun begins. Armed with all of your triangles, find a design wall (or a design floor like me) and lay out the pieces in a pattern that looks pleasing to your eye. Here is my mockup diagram, but the sky is the limit with layout possibilities. Have fun!
Once you have the layout you like, take a picture with your phone or iPad. I took this picture and printed it out. That printout became my cheat sheet for keeping blocks in the right order during sewing and assembly!
Sewing:
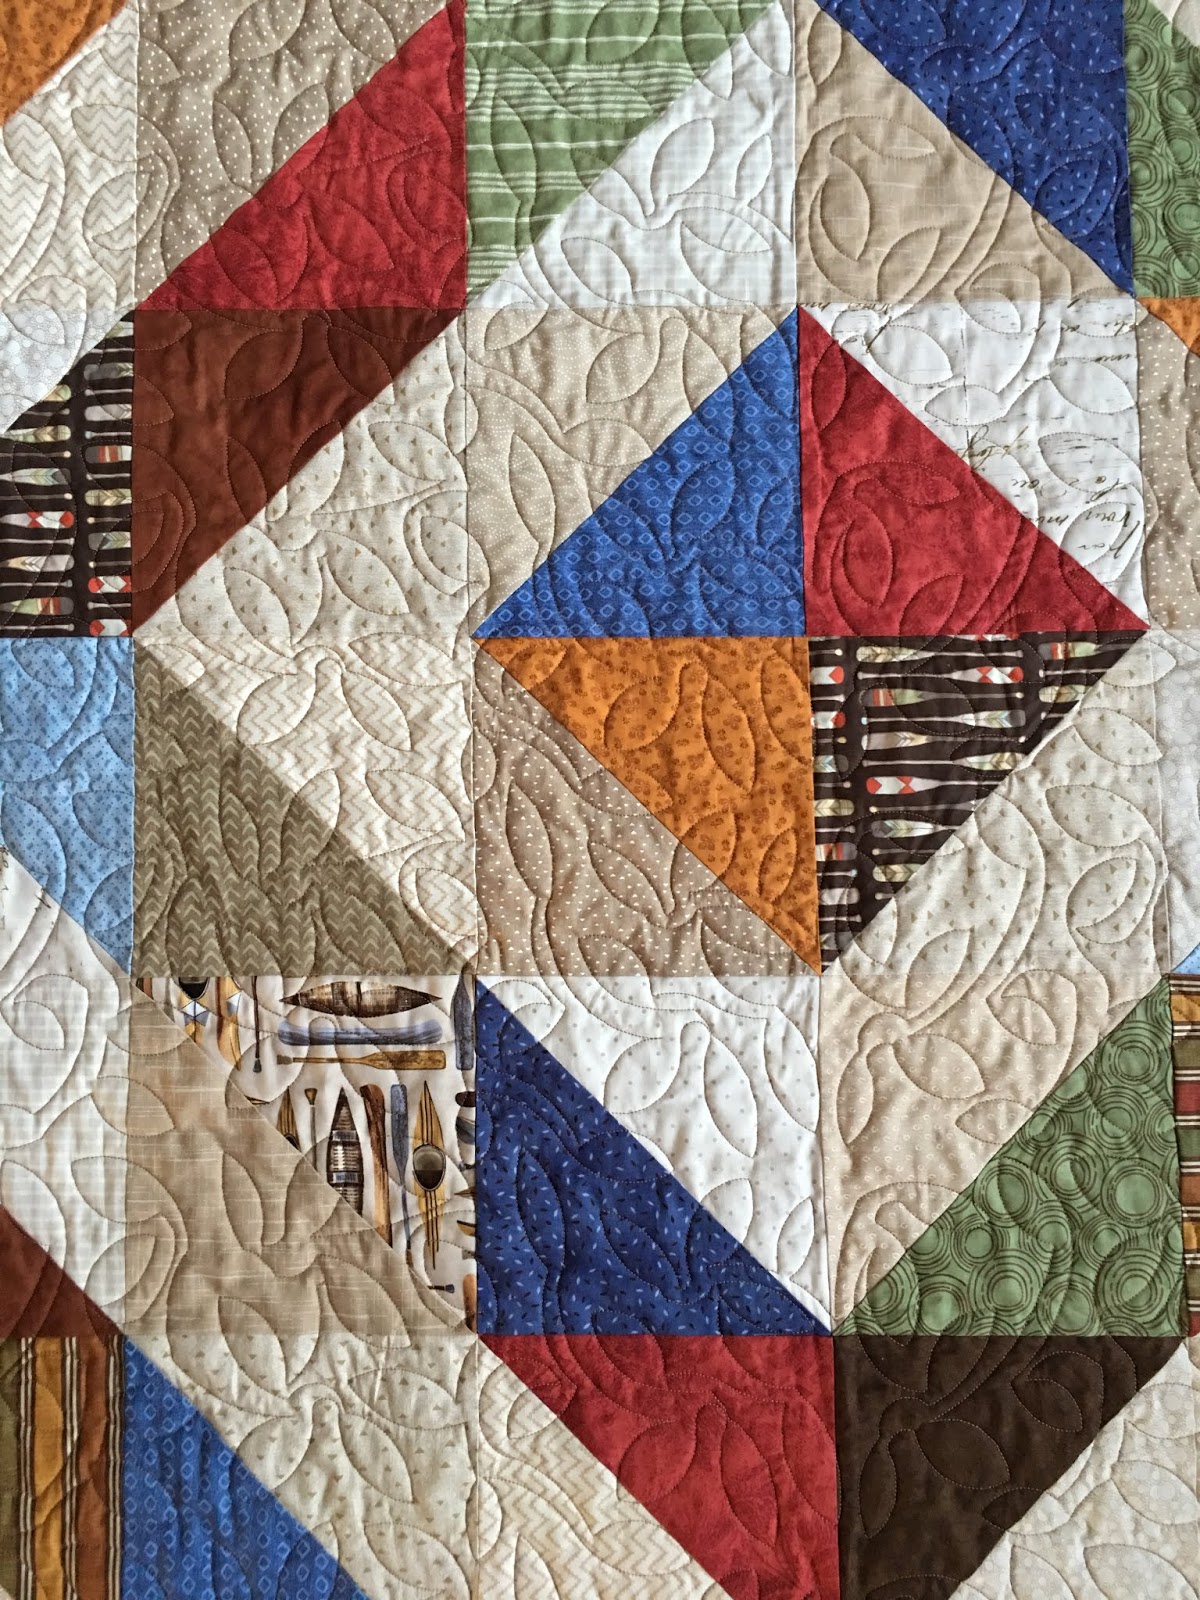
Place two triangles (one light, one dark) right sides together and sew along the diagonal edge. (Note, I pinned these pieces together to prevent any bias stretching and shifting.) Press toward the darker fabric. Square up to 8”. Make 100 HST blocks.
Lay out your 100 HST blocks according to your photograph. Double check that you have all of your lights and darks in a formation that you like.
Sew the blocks together from left to right, creating 10 rows. Press row 1 to the left. Press row 2 to the right. Continue pressing in that alternating manner.
Now sew the 10 rows together from top to bottom. Press to one direction or press open.
Add an inner border if desired. Add an outer border if desired.
Prep your backing. Quilt as desired and then bind!
Tip: when I use a plush backing, I attach my binding opposite of how I would normally. I machine stitch my binding to the back of the quilt, and then turn it to the front and hand stitch it down. I find it difficult to hand stitch into the plush backing, so this reverse method works well.